ESXi 5.5 Installation
ESXi 5.5 Installation and Configure Network seating -----
Prerequisites -----
> Multi Core X86-64 Bit processor with VT ( Visualization ) enable.
> Minimum one Ethernet card with 1 Gbps speed for better performance.
> Minimum one local storage to create VM Datastore.
> Minimum 4 GB RAM
> One Static IP address
Installation Steps -----
> Insert ESXi 5.5 Server CD / .iso file in CD Drive and boot the server from CD ROM. Onc the Server boot from CD you will get the following screen.

> Installer start loading ESXi installer.

> Start loading modules.

> Press Enter key to continue installation.

> In End User License Agreement window press (F11) Accept and Continue

> In Select a Disk to Install or Upgrade window select Local : Disk option and press Enter to Continue.

> In Confirm Disk Selection windows press Enter to Continue.

> Select US Default Keyboard option and press Enter to continue.

> Enter Root password: and Confirm password: than press Enter to Continue.

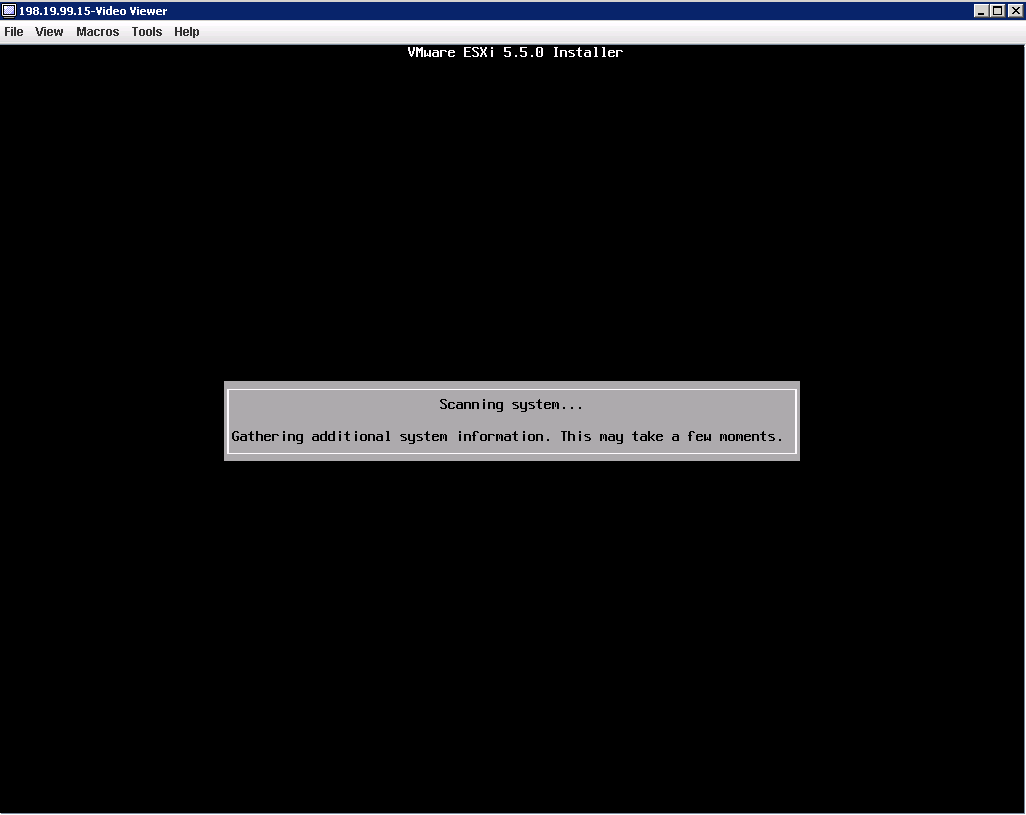
> Installer start Scanning the system now.
> Press (F11) Install to continue.

> Installation start in the next screen.

> Once you will get the Installation Complete window Press Enter to Reboot the server.

> ESX 5.5 start reloading on the server.

> Once the ESX 5.5 installation done and reboot the server following screen will be display to edit the server configuration.

Configure Network Settings -----
> Network settings are important to access the ESX 5.5 server from VMware Client.
Press F2 button to customize the settings.

> With the Up and Down arrow key select Configure Management Network option to configure Network settings.

> Select IP Configuration

> Select Set static IP address and network configuration: option:
IP Address ----- Type static IP for the ESX 5.5 Server.
Subnet Mask ----- Type Net Mask for IP address to define network class.
Default Gateway ----- Type Router IP of the Subnet.

> In Configure Management Network: Confirm press Y to continue.

> Now ESX 5.5 server is ready to access from VMware Client.
EOF
Prerequisites -----
> Multi Core X86-64 Bit processor with VT ( Visualization ) enable.
> Minimum one Ethernet card with 1 Gbps speed for better performance.
> Minimum one local storage to create VM Datastore.
> Minimum 4 GB RAM
> One Static IP address
Installation Steps -----
> Insert ESXi 5.5 Server CD / .iso file in CD Drive and boot the server from CD ROM. Onc the Server boot from CD you will get the following screen.
> Installer start loading ESXi installer.
> Start loading modules.
> Press Enter key to continue installation.
> In End User License Agreement window press (F11) Accept and Continue
> In Select a Disk to Install or Upgrade window select Local : Disk option and press Enter to Continue.
> In Confirm Disk Selection windows press Enter to Continue.
> Select US Default Keyboard option and press Enter to continue.
> Enter Root password: and Confirm password: than press Enter to Continue.
> Installer start Scanning the system now.
> Press (F11) Install to continue.
> Installation start in the next screen.
> Once you will get the Installation Complete window Press Enter to Reboot the server.
> ESX 5.5 start reloading on the server.
> Once the ESX 5.5 installation done and reboot the server following screen will be display to edit the server configuration.
Configure Network Settings -----
> Network settings are important to access the ESX 5.5 server from VMware Client.
Press F2 button to customize the settings.
> With the Up and Down arrow key select Configure Management Network option to configure Network settings.
> Select IP Configuration
> Select Set static IP address and network configuration: option:
IP Address ----- Type static IP for the ESX 5.5 Server.
Subnet Mask ----- Type Net Mask for IP address to define network class.
Default Gateway ----- Type Router IP of the Subnet.
> In Configure Management Network: Confirm press Y to continue.
> Now ESX 5.5 server is ready to access from VMware Client.
EOF


Comments
Post a Comment